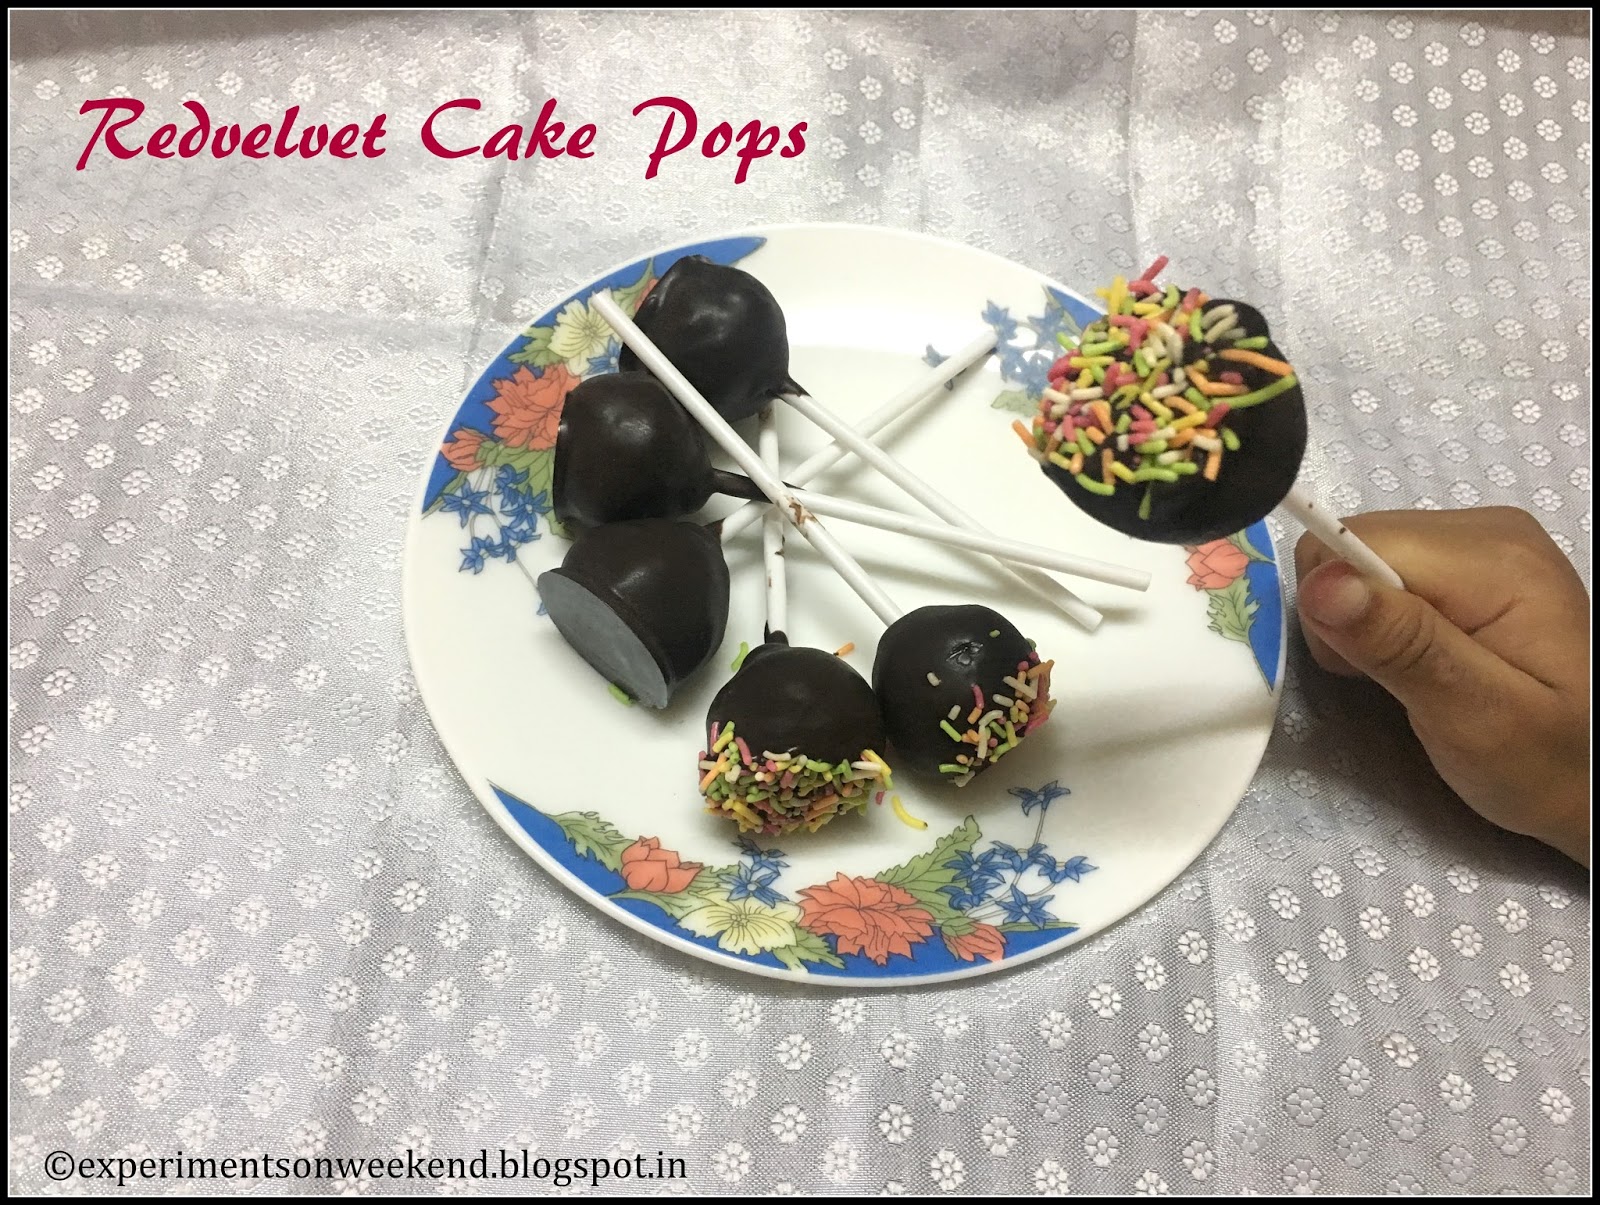
Cake Pops are very popular and easy to distribute among kids in the party/function. It is easy to prepare by mixing crumbling cake with any frosting and formed into small round balls and coated with melted chocolate. Lollipop stick will be stick to these round cake balls. Cake pop can be prepared with any cake and any type of frosting. Even mixed fruit jam or chocolate ganache can be used instead of butter cream frosting or fresh cream frosting. I have used left over red velved cake and vanilla butter cream frosting to make Red velvet cake pops.


Ingredients :
Red velvet cake - 2 Cups
Vanilla butter cream frosting - 1/4 to 1/2 cup
Dark Chocolate – 1 Cup
Butter – 1 tbsp
Sprinkles for decoration (Optional)
Method:
Step 1 : Crumble the cake and keep aside. Add vanilla butter cream frosting into crumbled cake and mix well. Knead gently to a soft mix. Scoop small amount of mix and shape into a smooth round small ball. Place it on an OHP sheet or parchment sheet and Refrigerate atleast for 1 hour.
Step 2 : Melt the chocolate and butter in microwave oven or in double boiler method. Stir in between to avoid burning of chocolate. Dip one end of the lollipop stick into the melted chocolate and tap off the excess chocolate. Insert into the rolled cake balls. While pricking the cake balls, before careful. Otherwise cake balls will fall out from the sticks when it is dipped into melted chocolate. Again refrigerate it for 30mins to make it set.
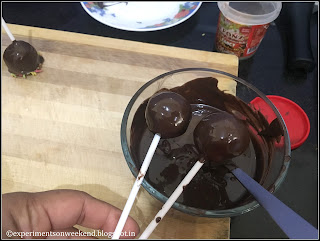
Step 3 : Take cake balls from refrigerator. Dip each cake ball into the melted chocolate ensuring that the coating covers the entire cake ball. Gently tap off the excess coating and coat the chocolate evenly on the cake pop. Sprinkle few sprinkles on it. Arrange it in a upside turned colander or stick on a styrofoam or just place it on a OHP sheet. Allow it dry completely.
Serve them once the chocolate is set. It can be stored in air tight container.
Step by Step Pics of Cake Pops:


Thanks for visiting ExperimentsOnWeekend.


Thanks for visiting ExperimentsOnWeekend.
No comments:
Post a Comment